Back to Event Manager Main Menu
Running Reports
Once reports have been saved in Event Manager, there are a number of options available for running and managing them from the reports list. You can click the Run Report link to view the reports in either in Card or Tabular layout. Let us look at them one by one.
Card Report
Depending on the pre-selected filter options, the report is displayed on the page.
The following table provides the list of menu options along with a description for card reports.
| Name of the Menu | Description |
|---|---|
| File |
Print: This option is used to print the report. Click to select the page size and orientation on the popup window.
Optionally, click the preview button to enable print preview before printing the report. Disable preview feature: Click to disable the print preview interface. |
| Home |
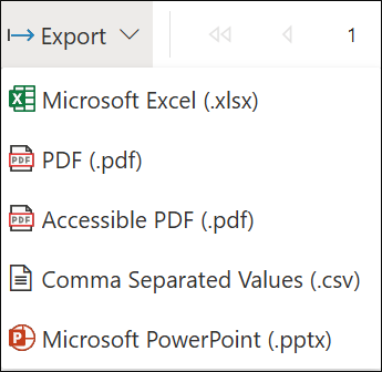
On the Export dropdown list, select an option to export the report as a CSV, Excel, PDF, or Power Point file. Click the arrows to move between pages on the report.
|
| View | Click one of the two options to view the report in Web Layout or Print Layout mode respectively. |
Exporting a Report
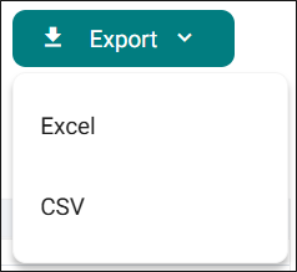
Click the Export link and select an option to download the report in Excel or CSV format. The report is automatically saved to the default download location on your machine.
Filtering a Report
The pre-selected filters are visible above the report. To collapse the filters and see more of the report click Parameters. The show the filters again, click Parameters again.
Use the dropdown lists to update the filters as needed. Once you’ve made the adjustments, click View Reports to get the updated data.

Tabular Report
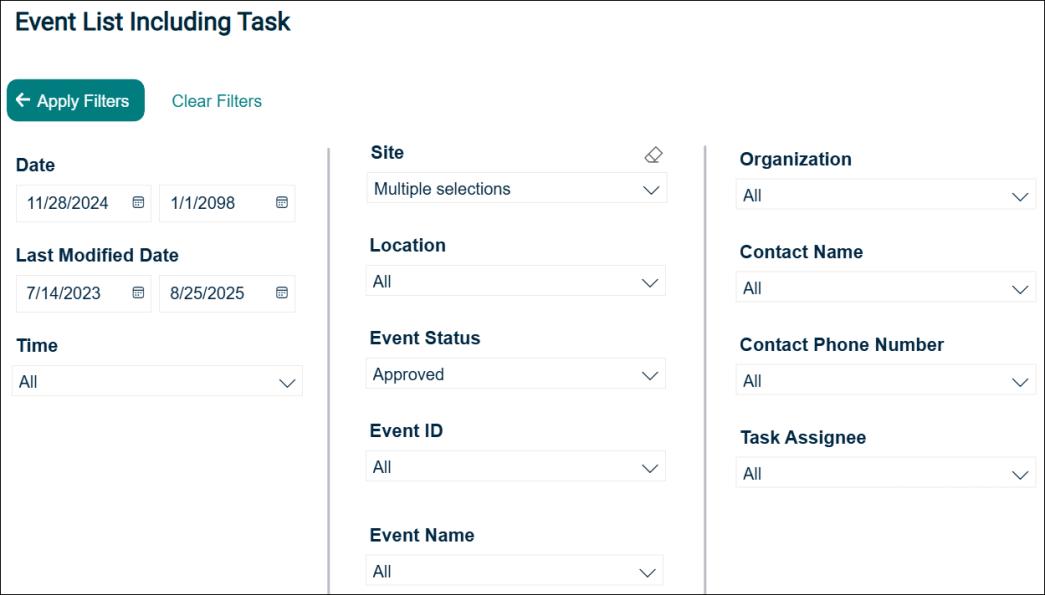
Depending on the pre-selected filter options, the report is displayed on the page. The pre-selected filters show at the top of the screen.
Click the More Filters button to view additional filters on the Report View page. Select the desired options and then click Apply Filters. The data in the report is filtered and displayed on the page. Click the Clear Filters button to clear all the selected filter options so that you can make your choices again.
Exporting a Report
Click the Export link and select an option to download the report in Excel or CSV format. The report is automatically saved to the default download location on your machine.
Filtering a Report
Under Reporting Period, you can select the following options to filter the report data.
-
Next / Last: Filter the report data to view data for specified days, weeks, months, and years. This can be for Current, Past, or Next time interval.
-
Custom: Allows you to enter a desired start and end date.
-
Date: Select to view Last, Next, or Current time interval.
-
Location: Select the check boxes to filter events by location.
-
Status: Select All or check boxes for specific statuses like Approved, Cancelled, etc.
The data will refresh as you update the filters on the top of the report. If you need additional filters click More Filters.
Once you have selected your additional filters select Apply Filters to be taken to the report.